

Clipper Performance: Check the Whole Cutting System
A cleaner finish depends on coat preparation, blade care and a healthy clipper. Use this sequence before blaming the blade.
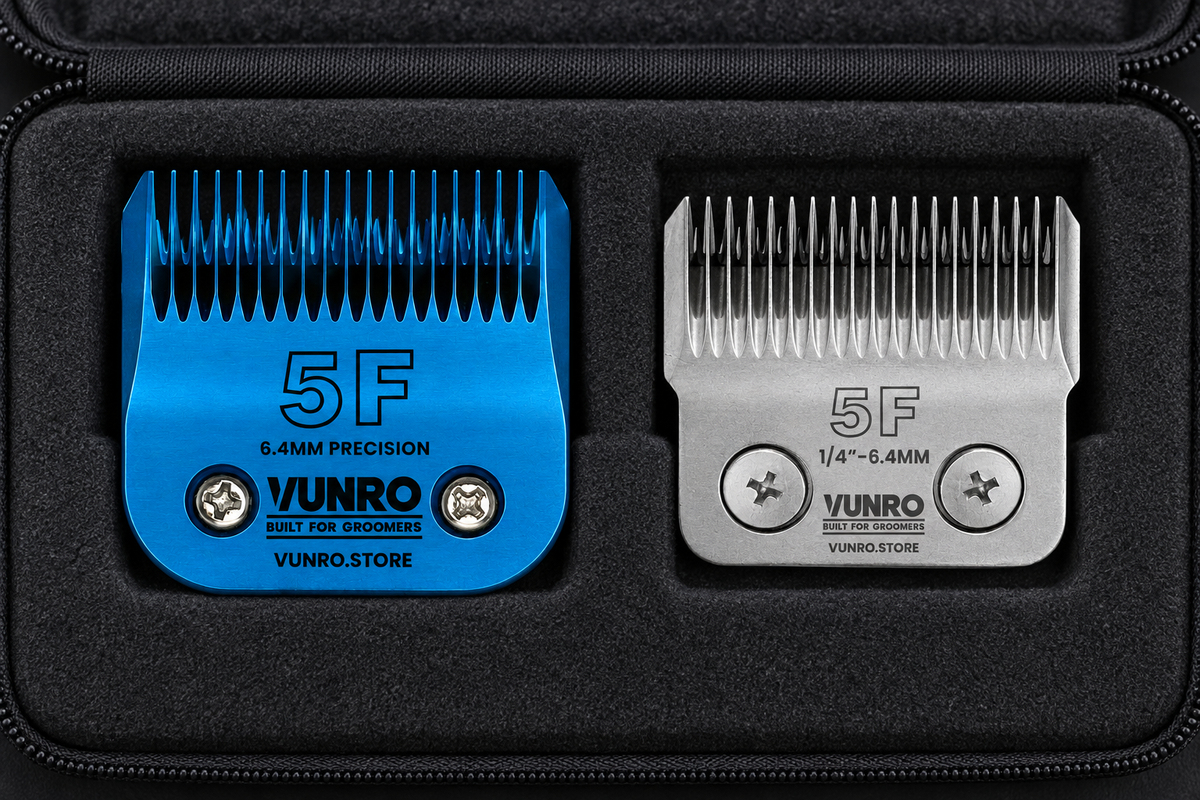
The practical answer
Treat cutting performance as a system: prepared coat, compatible blade, correct lubrication and a sound clipper. Change one thing at a time so you can identify the cause.
Start with a clear baseline
Before a busy day, identify one compatible blade that you know cuts properly. Keep it clean, labelled and separate from blades awaiting attention. That reference makes troubleshooting much more useful than swapping between several blades with unknown condition.
Check in a consistent order
- Assess the coat. Dirt, tangles and dampness can interfere with the finish; do not force equipment through resistance.
- Confirm the blade is intended for the exact clipper model and is seated according to its manual.
- With power isolated, remove trapped hair and inspect for damaged teeth or other visible faults.
- Use the specified blade lubricant and cleaning procedure. Lubrication helps the moving cutting surfaces work smoothly; follow the instructions for your exact tool and keep cleaning, disinfection and oiling as separate steps.
- Compare the result with the known-good compatible blade. If both perform badly, investigate the clipper and preparation rather than sharpening everything.
Keep a small performance record
| Record | Why it helps |
|---|---|
| Blade ID and size | Stops two similar blades being confused. |
| Coat condition | Separates a preparation issue from a tool issue. |
| Symptom and when it began | A sudden change after a drop is different from gradual loss of performance. |
| Action and result | Shows whether cleaning, servicing or replacement actually solved the problem. |
Do not use pressure to compensate
Pushing harder obscures the diagnosis and increases the chance of discomfort. Repeated passes over the same patch also make it harder to judge whether the blade or the technique is responsible. Stop, check the setup and resume only when it is cutting normally. If the dog is uncomfortable, the troubleshooting session belongs away from the dog.
Build a reliable working kit
Keep a ready spare for the sizes you use most, an obvious place for blades needing attention and a service note for each clipper. A blade that has just returned from sharpening should be checked before you rely on it for a fully booked day. Judge a purchase by fit, service support and observed performance; a premium label alone does not establish that it suits your workflow.
Before you start clipping
- Compatible blade fitted correctly.
- Coat prepared and dog comfortable.
- Blade clean, lubricated and undamaged.
- Temperature checked during use; stop if it becomes hot.
- A labelled spare ready if performance changes.
Before adding a working spare, check your clipper’s blade family. If a new tool will not cut, follow our first-use troubleshooting guide and contact us if it persists.
If you do not already have a suitable known-good spare, skip that comparison and contact VUNRO with the checks completed. Do not buy another blade merely to diagnose a new purchase, or run equipment with damaged teeth, a burning smell, abnormal heat or harsh new noise.
Read next
- Clipper Blade Troubleshooting: Diagnose Before You Replace
- Sharpen or Replace a Clipper Blade? A Decision Guide
- Clipper Blade Drives: Recognising a Fault and Getting It Fixed
Sources and further reading
VUNRO product guidance supports the fit, care and operating checks. The comparison sequence is an editorial troubleshooting aid, not proof of an internal fault.
Keep learning
More from the Blade Blog

Separate a Dry Surface from a Dry Coat
Read the guide →
Check the Outline in Motion Before Making Another Cut
Read the guide →


